 Brolly
 Add a group
Create a group in Settings → Groups to restrict which social accounts a set of users can see.
Add-on — Groups is an optional extra on top of your Brolly plan. If you don't see it in your organisation's Brolly, email support@brolly.com.au or talk to your account manager to enable it.
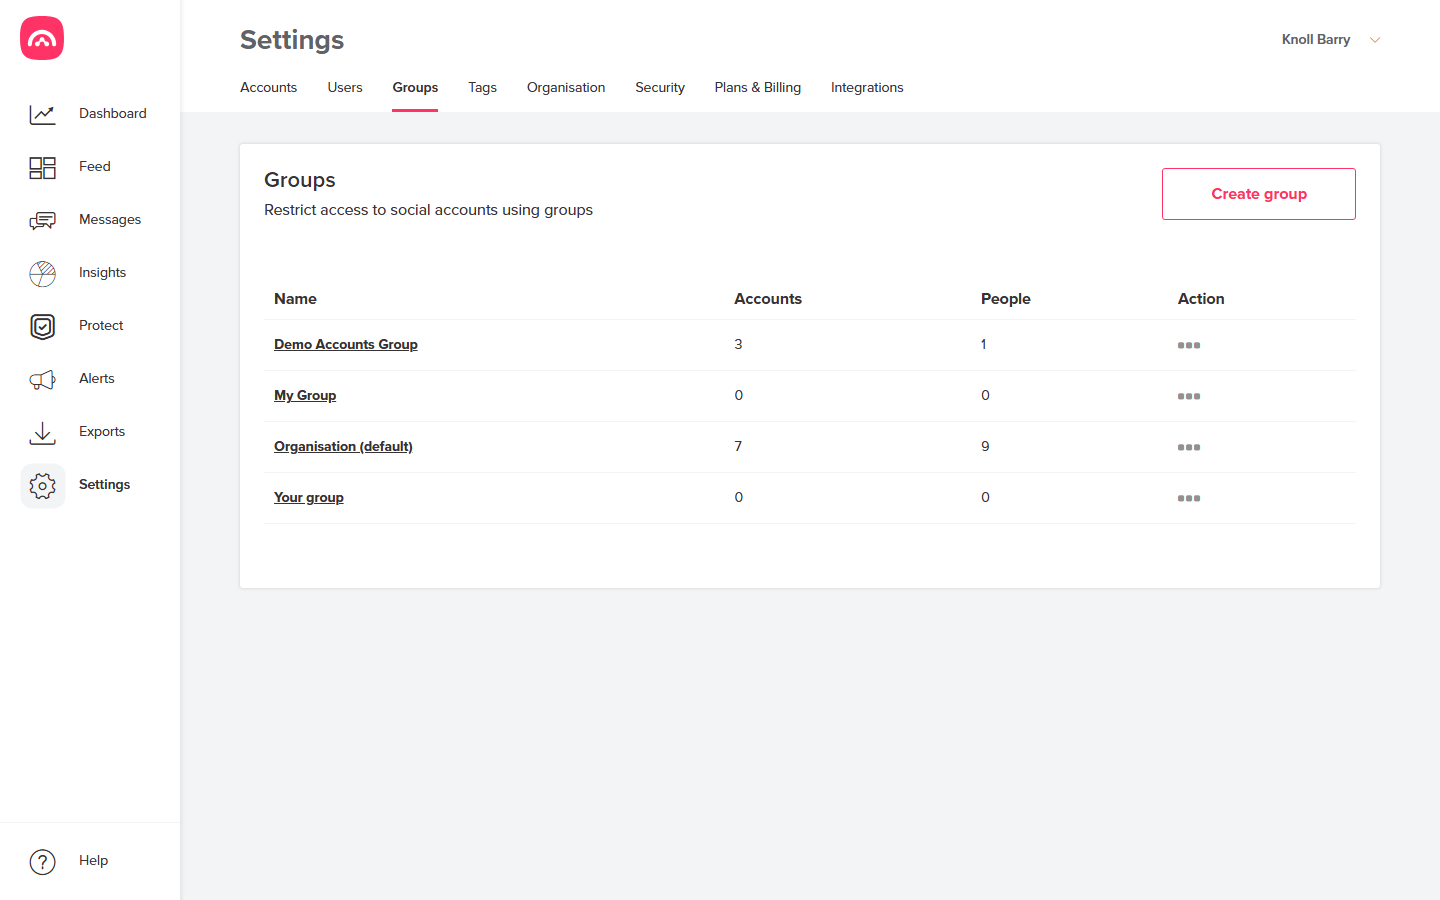
Groups let you restrict access to social accounts, so team members only see the accounts that belong to them. Every organisation starts with a default group called Organisation (default), and you can add more groups whenever you need to separate accounts — by business unit, by brand, or by elected official.
Steps to add a group
- Log in to Brolly and choose Settings.
- Select the Groups tab.
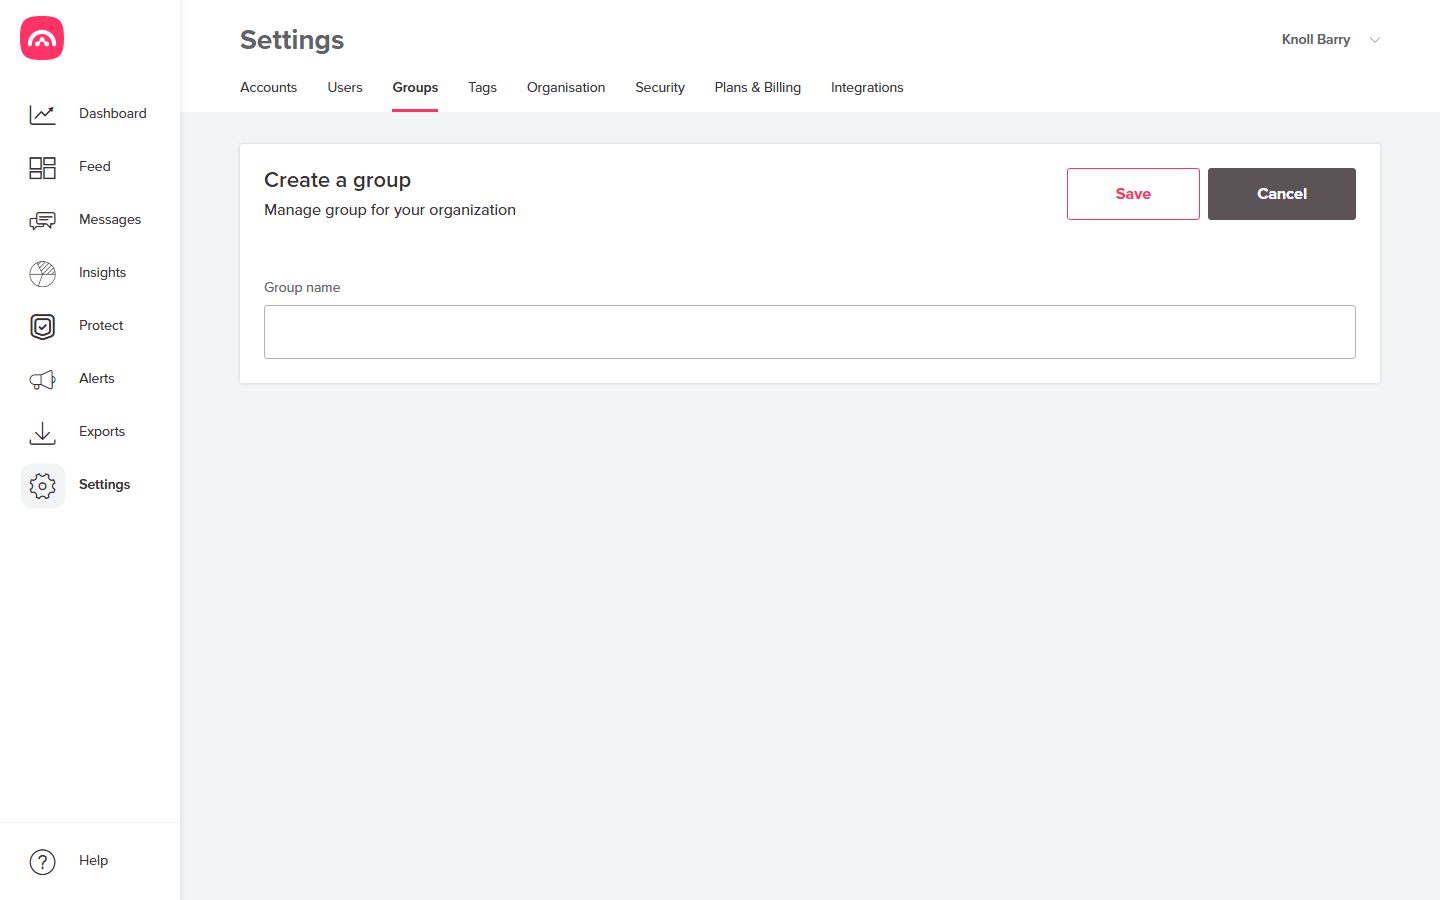
- Choose Create group.
- Name the group — for example, the business unit that will manage the social media accounts.
- Save. The new group appears in the groups list alongside its Accounts and People counts.
What to do next
A group is only useful once it has accounts and people in it:
- Connect accounts into the group. When you add a social media account via Settings → Accounts → Add accounts, the first step asks you to select a group — see connecting accounts to a new group. You can also move accounts that are already connected.
- Add people. Invite team members and assign them to the group so they can see its accounts. A Group owner can manage the group day to day; see group roles for what each role can do.
Managing existing groups
In the Groups tab, use the actions menu (⋯) next to a group to view or manage its details. Users assigned to a group see only that group's connected accounts in their Feed, Messages and Exports — that's the whole point of groups.