 Brolly
 Connect social media accounts to a new group
Create a group, invite its owner, then connect accounts directly into the group using the Add accounts dialog.
Add-on — Groups is an optional extra on top of your Brolly plan. If you don't see it in your organisation's Brolly, email support@brolly.com.au or talk to your account manager to enable it.
In Brolly, social media accounts are always connected into a group — so if you want a new group to hold a set of accounts, create the group first, then connect the accounts into it. Here's the full sequence.
Before you begin
- Creating the group and inviting people requires Owner permissions.
- Whoever connects the accounts must have admin or editor access to those accounts on the social media platform itself.
Step 1 — Create the group
- Go to Settings → Groups and choose Create group.
- Name the group and save it. See add a group for details.
Step 2 — Invite a Group owner (optional but recommended)
Invite the person who'll manage the group's accounts and give them the Group owner role — for example via Invite user in Settings → Users. See roles in Brolly groups for what a Group owner can do.
Step 3 — Connect accounts into the group
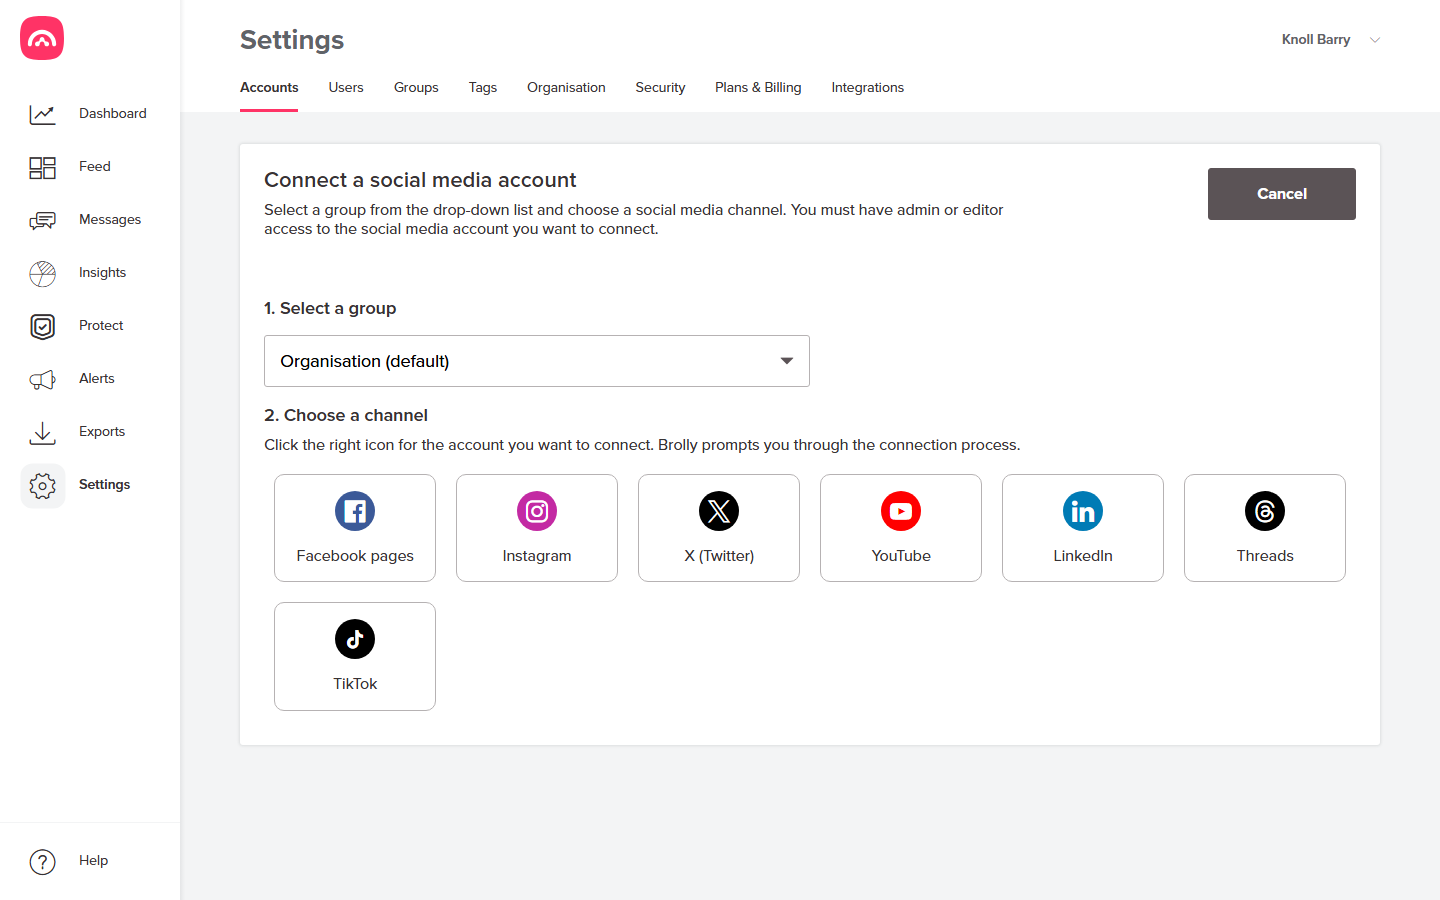
- Go to Settings → Accounts and choose Add accounts.
- Step 1 of the dialog asks you to select a group — choose your new group from the dropdown.
- Step 2 asks you to choose a channel: Facebook pages, Instagram, X (Twitter), YouTube, LinkedIn, Threads or TikTok.
- Follow the prompts to authorise the connection. The account is connected directly into the group you selected.
Already connected the account to the wrong group? You can move it to another group without losing any records.